10x20 Shed: Easy DIY Guide to Build a Sturdy Backyard Storage Space
Thinking about adding extra storage, a workshop, or a hobby nook to your yard? A 10x20 shed gives you plenty of room without taking over the whole garden. The good news is you can put one together yourself with basic tools and a clear plan. Below you’ll find the most practical steps, from picking the right site to finishing the roof.
Planning and Design
First, decide what you’ll store inside. If it’s lawn equipment, you’ll need a wide door and maybe a concrete floor. If you plan to work on projects, consider adding a workbench and extra lighting. Sketch a simple floor plan on paper – mark the door, windows, and any interior partitions. Keep the layout open so you can move big items easily.
Next, check local building codes. Some areas require a permit for sheds over a certain size, and they may dictate roof pitch or setbacks from property lines. A quick call to your city office can save you headaches later.
When choosing materials, weigh cost against durability. Pressure‑treated lumber for the frame is inexpensive and resists rot. For siding, T‑1‑11 or vinyl panels work well and need little maintenance. If you want a more polished look, consider cedar, but be ready for higher price and occasional sealing.
Step‑by‑Step Construction
1. Prepare the foundation. A level base is the secret to a long‑lasting shed. Most DIY builders use a concrete slab, a weed‑block with pressure‑treated skids, or a compacted gravel pad. For a 10x20 shed, a 4‑inch concrete slab offers solid support and helps keep moisture out.
2. Build the floor frame. Lay out 2×6 joists 16 inches on center, attach them to the perimeter rim joist, and secure with joist hangers. Add a layer of ½‑inch plywood or OSB on top, then screw it down tightly.
3. Raise the walls. Cut wall studs to the desired height – 8 or 9 feet works for most uses. Assemble each wall on the ground: top and bottom plates, studs, and any window or door openings. Once the frames are ready, lift them into place and bolt them to the floor frame.
4. Install the roof. A simple gable roof is easy to build and sheds water well. Use 2×6 rafters spaced 24 inches apart, attach a plywood sheathing layer, and cover with felt and shingles or metal roofing. Make sure the roof overhang extends at least 6 inches to protect the walls.
5. Add doors and windows. A pre‑hung shed door costs less than building one from scratch and fits most frames. For windows, choose double‑pane units that match the siding style. Seal all openings with flashing tape to keep rain out.
6. Finish the exterior. Apply a weather‑resistant paint or stain to the siding, and add trim around doors and windows for a clean look. If you used vinyl siding, a simple wash with a hose will keep it looking new.
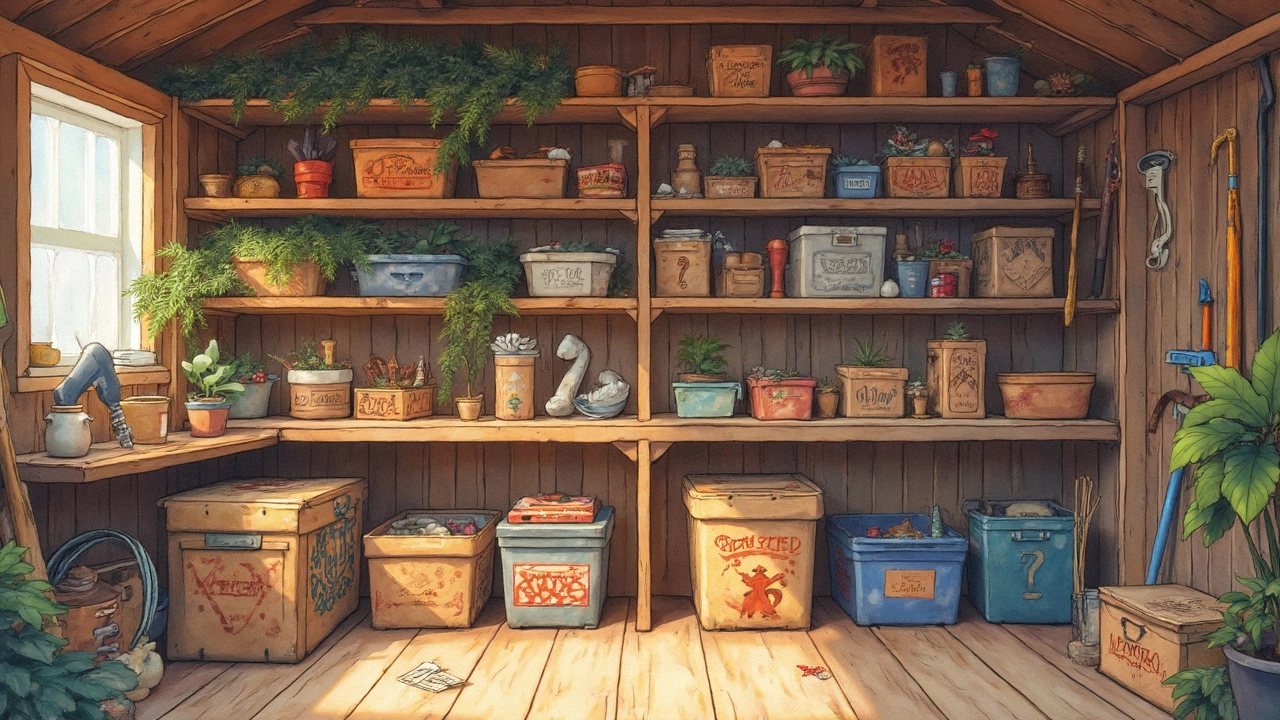
7. Outfit the interior. Install shelving, hooks, or a workbench based on your earlier plan. Adding a few LED lights on the ceiling makes the space usable after dark and doesn’t heat the shed.
When you follow these steps, the whole project takes about one to two weeks, depending on weather and how many helpers you have. The biggest payoff is the extra storage or workspace you gain without paying for a pricey pre‑built unit.
Remember, the key to a successful 10x20 shed is solid planning, a level foundation, and using weather‑proof materials. Start with a clear purpose, stick to the simple build steps, and you’ll have a functional, durable shed you can be proud of.
What Fits in a 10x20 Shed? Maximize Your Storage Space
Got a 10x20 shed and wondering how to best use it? This guide breaks down smart organizational strategies and offers practical tips to utilize every inch. From holiday decorations to tools and outdoor equipment, discover how to turn your shed into a functional storage powerhouse while keeping it neat and accessible.
View More


Feb 15 2025