DIY Shelving: Build, Save, and Style Your Space
Ever looked at a room and thought, “I need more shelves, but I don’t want to spend a fortune”? You’re not alone. DIY shelving lets you add storage, give a room personality, and keep costs low. In this guide we’ll walk through the basics of planning, choosing materials, and installing shelves that actually stay up.
Buy or Build? The Real Cost Breakdown
Before you head to the store, ask yourself if a ready‑made unit really saves you time or money. A typical ready‑made bookshelf can cost anywhere from $80 to $250 depending on size and finish. Build‑your‑own options, on the other hand, start at $20 for plain pine boards and a few brackets. The key is to factor in tools, hardware, and your own labor. If you already own a drill and saw, building will almost always be cheaper.
Our own post, Buy or Build: Which Shelving Option Saves More Money?, showed that DIY projects save an average of 45 % on material costs. The biggest savings come from buying raw lumber in bulk and using standard 2×4s instead of specialty panels.
Choosing the Right Materials
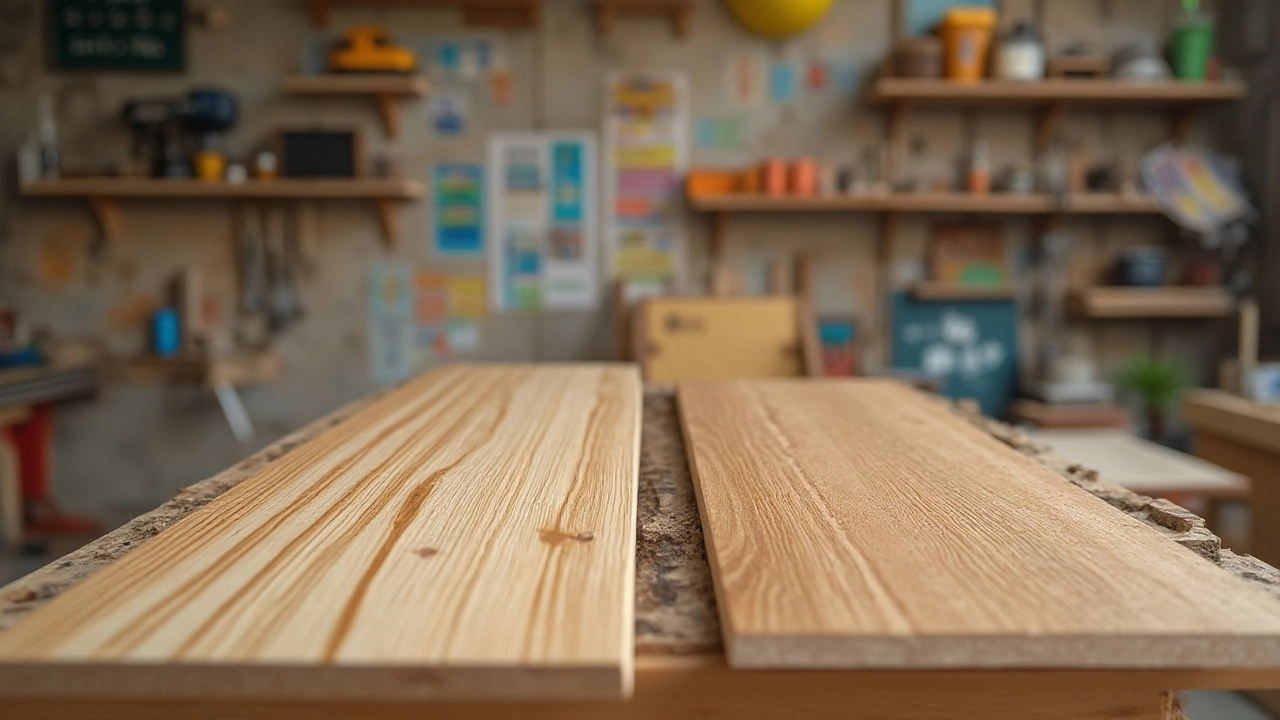
Start with the purpose of the shelf. For heavy books or kitchenware, go with solid wood or plywood at least ¾ inch thick. If you just need to display decor, lightweight MDF or even reclaimed pallet wood works fine and looks trendy.
Here’s a quick cheat‑sheet:
- Pine: cheap, easy to cut, good for light loads.
- Birch plywood: strong, smooth surface, perfect for a clean look.
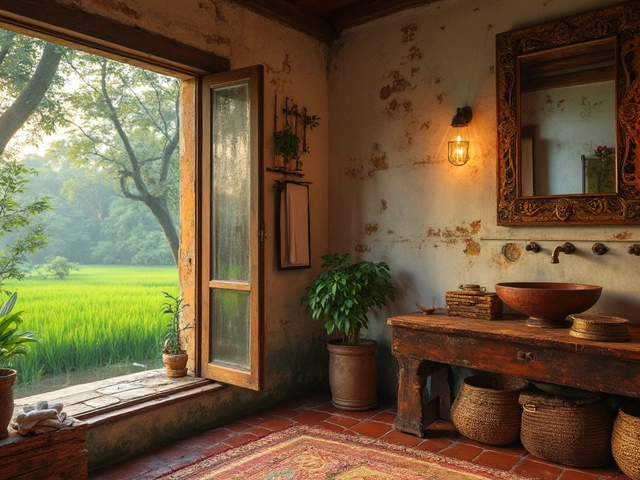
- Reclaimed pallet: free or low‑cost, adds rustic charm.
Don’t forget the hardware. Heavy‑duty brackets rated for at least 50 lb per side are a must for load‑bearing shelves. Wall anchors are essential if you’re mounting on drywall.
Now that you know what to buy, let’s talk layout. Measure the wall space, decide on a spacing of 12‑16 inches between shelves for most books, and sketch a simple diagram. Use a level and a stud finder to mark bracket positions. If you can’t find studs, toggle bolts give a solid hold.
Installation is straightforward: attach brackets, place boards, and secure with a few screws. For a finished look, sand rough edges and apply a coat of paint or clear sealant. Paint adds color and protects the wood from moisture—especially important in kitchens or bathrooms.
Thinking about style? Floating shelves are still popular, but they’re not dated. Pair them with hidden brackets for a sleek look, or choose visible metal brackets for an industrial vibe. Our article Are Floating Shelves Dated? points out that the trend stays fresh when you mix materials—like a wood shelf on black steel brackets.
Finally, maintain your shelves. Tighten screws every few months, especially if you notice sagging. A quick wipe‑down with a damp cloth keeps dust at bay, and an occasional re‑coat of sealant extends the life of the wood.
DIY shelving gives you control over cost, design, and durability. With a few tools, some basic measurements, and the right material, you can turn any wall into functional storage in a weekend. Ready to start? Grab that saw, head to the lumber yard, and watch your space transform without the hefty price tag.
MDF vs OSB: Which Shelf Material Is Best for Strength and Budget?
Find out if MDF or OSB works better for shelves. Compare durability, looks, cost, and get real advice for DIYers. Make the right choice for your project.
View More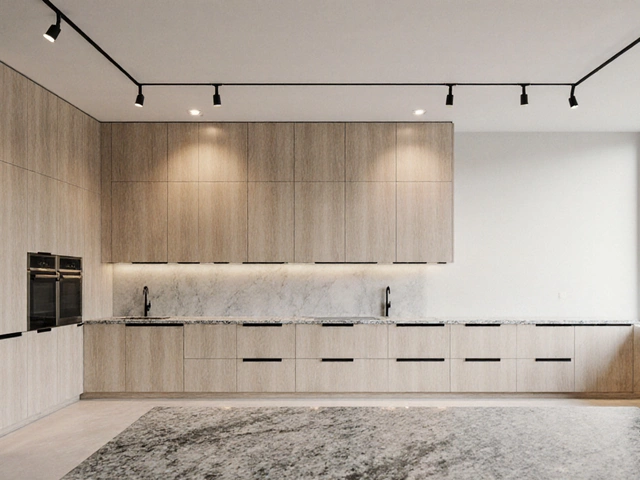
Oct 10 2025

Mar 13 2025
Mar 8 2025