OSB Shelves – Strong, Cheap, and Ready for Your Home
If you need extra storage but don’t want to spend a fortune, OSB shelves are a perfect answer. Oriented Strand Board (OSB) is a sturdy engineered wood that costs less than plywood and looks great when you finish it right. In this guide you’ll get the basics on why OSB works, how to build your own shelves, and simple tricks to make them look polished.
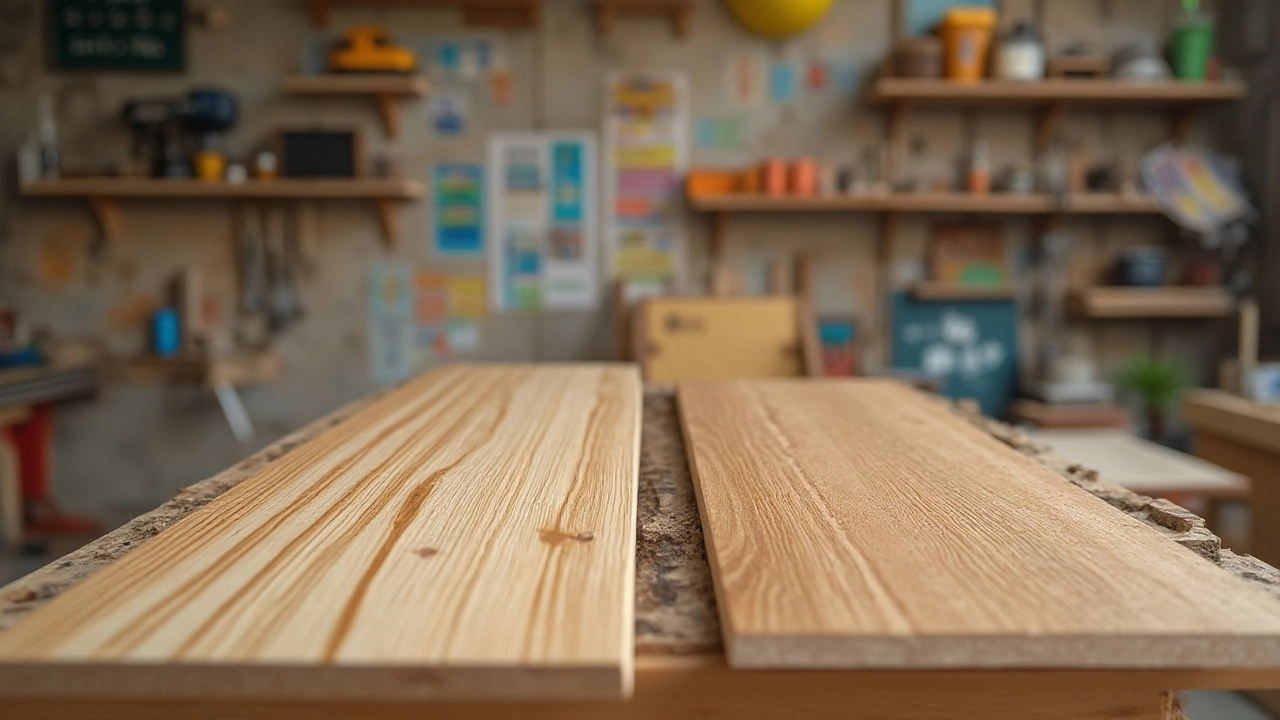
First off, OSB is made from compressed wood strands, so the board holds a lot of weight. It’s especially good for holding books, tools, or kitchen items. Because the panels come in standard sizes (usually 4 × 8 ft), you can cut them to any length you need without hunting for specialty lumber.
Why Choose OSB Over Other Materials?
Money matters. A sheet of OSB typically costs half of a comparable plywood sheet, so the overall project stays low‑budget. It’s also widely available at most home‑improvement stores, which means you won’t waste time searching for a rare material.
Durability is another win. OSB resists warping when you seal the edges, and it can handle the everyday loads of a living room or garage shelf. If you plan to paint or stain, the board takes the finish well – just sand the surface a bit first, then apply a primer.
Step‑by‑Step DIY OSB Shelf Build
1. Measure and plan. Decide how many shelves you need and where they’ll go. Sketch a quick layout, noting the height between each shelf (12‑18 in is common).
2. Cut the boards. Use a circular saw to cut the OSB to your desired length. For a standard 30‑inch deep shelf, cut a 30‑inch piece for the top, bottom, and each side.
3. Assemble the frame. Apply wood glue to the inside edges, then screw the sides to the top and bottom with 1‑½‑inch deck screws. Pre‑drill holes to avoid splitting.
4. Add support. If the shelf will hold heavy items, add a middle support rail or a few L‑brackets underneath.
5. Finish the surface. Sand any rough spots, then prime. Paint in a color that matches your décor, or use a clear sealant for a natural look.
That’s it – a solid OSB shelf in under an hour. The whole process doesn’t need any special tools beyond a saw, drill, and basic hand tools.
When you’re done, think about where to place them. In a home office, OSB shelves keep books and folders within arm’s reach. In a garage, they’re great for storing paint cans and tools. Even a bathroom can benefit from a short OSB shelf for towels and toiletries.
One tip many people overlook: seal the cut edges with a thin line of wood glue or edge sealant. This stops moisture from seeping in and reduces swelling over time.
Finally, personalize your shelves. Add decorative brackets, attach a strip of LED lighting, or stick on a chalkboard paint for a quick note‑taking surface. The options are endless, and the low cost of OSB means you can experiment without worrying about waste.
Bottom line: OSB shelves give you a sturdy, affordable, and adaptable storage solution. Whether you buy a ready‑made unit or build your own, you’ll end up with more space and a neat look that fits any room. Give it a try – the savings and satisfaction are well worth the effort.
MDF vs OSB: Which Shelf Material Is Best for Strength and Budget?
Find out if MDF or OSB works better for shelves. Compare durability, looks, cost, and get real advice for DIYers. Make the right choice for your project.
View More

Dec 26 2025

Mar 22 2025