Storage Shed Ideas, Costs & DIY Tips
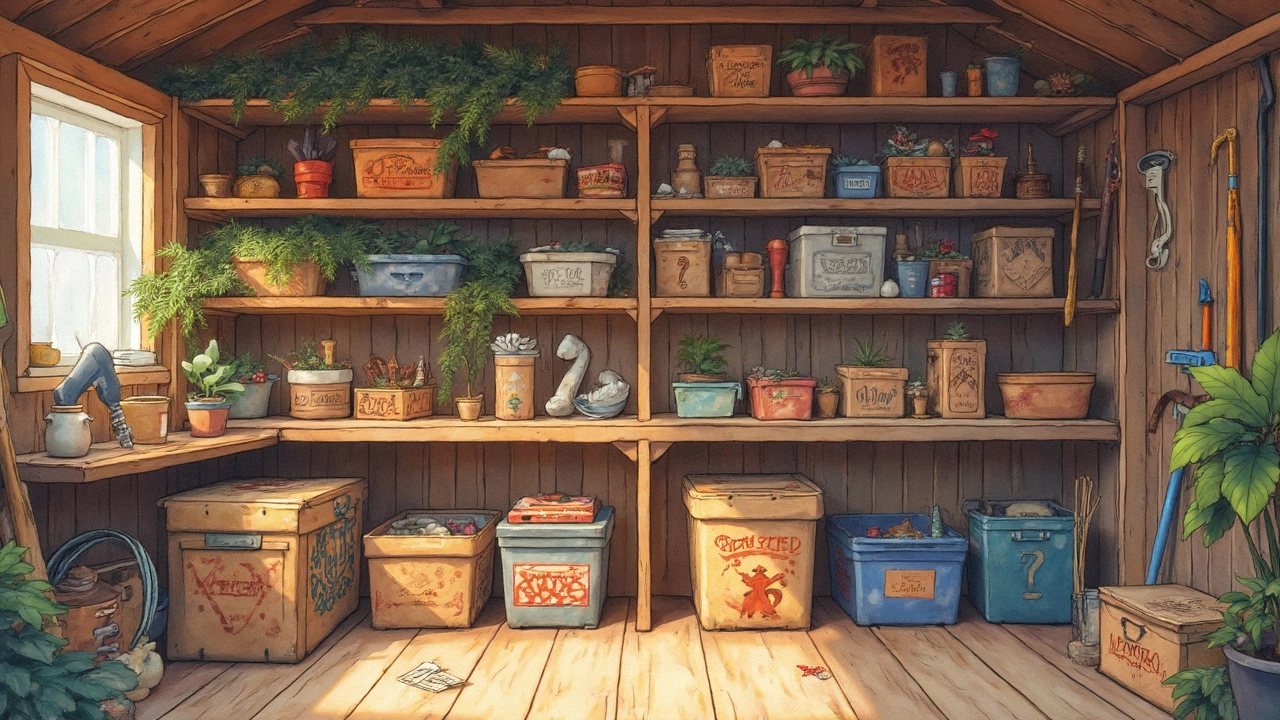
Ever looked at your backyard and thought you could fit a tiny office, extra bike rack, or just a place to hide the junk? A storage shed can turn that "mess corner" into a useful spot without spending a fortune. Below you’ll find the basics of picking the right shed, how to keep costs low, and quick shelving ideas that work for any size.
Choosing the Right Type of Shed
First, decide what you need the shed for. If you’re storing gardening tools, a simple metal box with a lock does the job. For a hobby room or a small home office, go for a wooden shed because it feels warmer and can be insulated more easily.
Size matters too. Measure the space you have, then add a foot or two for doors and ventilation. Most DIY stores sell kits in 6×8, 8×10 and 10×12 foot options. Bigger isn’t always better – a compact 6×8 shed can hold a bike, a few boxes and a workbench if you organize smartly.
Climate plays a role. In rainy areas, choose a shed with a sloped roof and good drainage. In hot zones, consider light‑colored panels or a metal shed with a reflective coating to keep the interior cooler.
Check local building codes before you start. Some neighborhoods require a permit for structures over a certain size, and a few HOA rules limit height or placement. A quick call to your city office can save you a lot of hassle later.
Saving Money: Build vs Buy Shelving
Once the shed is standing, the real storage magic happens on the shelves. The question many ask is: should I buy ready‑made shelves or build my own? Our post “Buy or Build: Which Shelving Option Saves More Money?” shows that DIY shelving usually wins if you’re comfortable with basic tools.
For a budget‑friendly build, start with the material you already have at home. Plywood, MDF or OSB sheets work well. If you’re unsure which is best, the “MDF vs OSB: Which Shelf Material Is Best for Strength and Budget?” guide says OSB is cheaper and strong enough for light loads, while MDF looks nicer for a finished look.
Here’s a quick plan: cut three 2‑foot lengths of ¾‑inch plywood for each shelf, add two 2‑foot side panels, and secure with 2‑inch wood screws. A simple bracket or a few L‑shaped metal braces keep the shelf steady. Paint or seal the wood to protect it from moisture – a coat of water‑based polyurethane works great and matches our eco‑friendly approach at Innovative Tissues India.
If you prefer a ready‑made solution, look for stackable metal racks. They’re cheap, sturdy, and can be adjusted as your storage needs change. Just compare the price per shelf with the cost of raw material plus tools; you’ll often find DIY is still the cheaper route.
Don’t forget accessories. A few hooks on the back wall hold hoses or garden gloves, and a small rolling cart makes it easy to move heavy items in and out. Adding a lockable door latch adds security without much expense.
Finally, keep the shed clean. Sweep out debris weekly, and wipe down shelves with a damp cloth. A tidy shed not only looks better but also extends the life of your shelves and the shed itself.
With the right type of shed, smart material choices, and a little DIY, you can create a functional storage space that fits any budget. Ready to get started? Grab a tape measure, pick your materials, and turn that empty corner into a storage champion.
What Fits in a 10x20 Shed? Maximize Your Storage Space
Got a 10x20 shed and wondering how to best use it? This guide breaks down smart organizational strategies and offers practical tips to utilize every inch. From holiday decorations to tools and outdoor equipment, discover how to turn your shed into a functional storage powerhouse while keeping it neat and accessible.
View More


